
The My Screeners section allows you to manage and organize your own screeners.
These screeners are created directly from the Search Criteria or Advanced Filters interface by applying filters and saving them under a custom name.
To learn more about filtering, read the Search & Filtering Guide.
1. Save a Screener
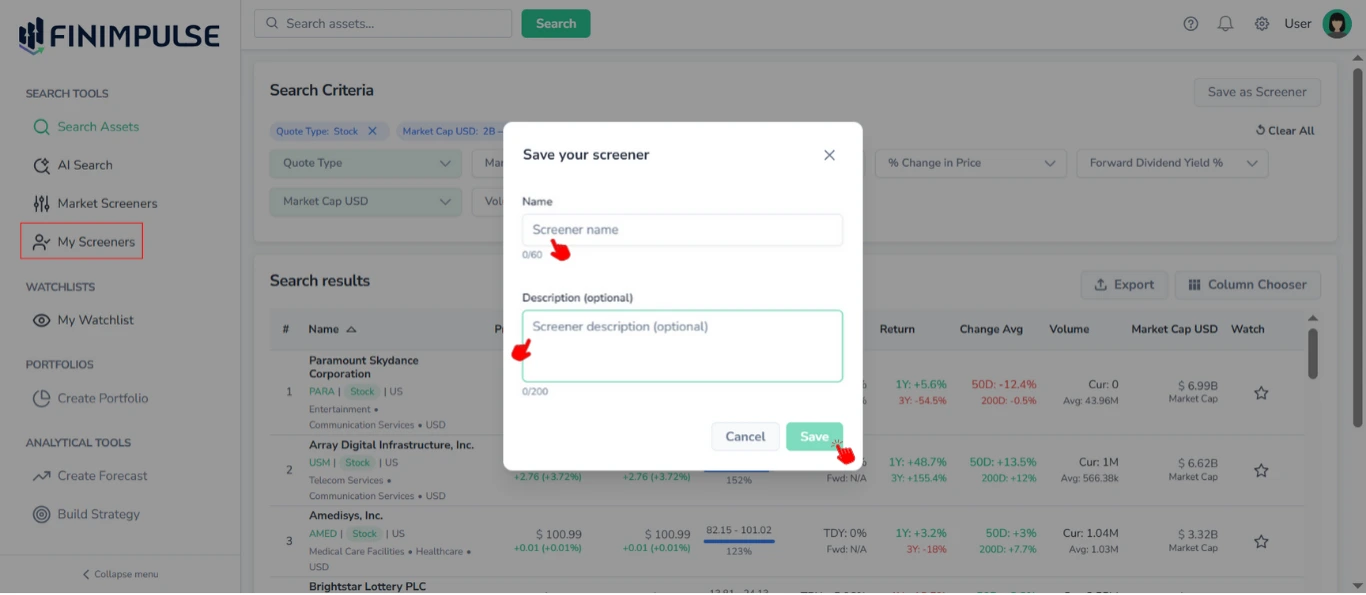
When you apply any combination of filters, you can save it by pressing Save as Screener → The “Save your screener” pop-up appears.

Enter Name → Enter Description (Optional) → Click Save.
Your screener will appear in the My Screeners section.
2. What You Can Do in My Screeners
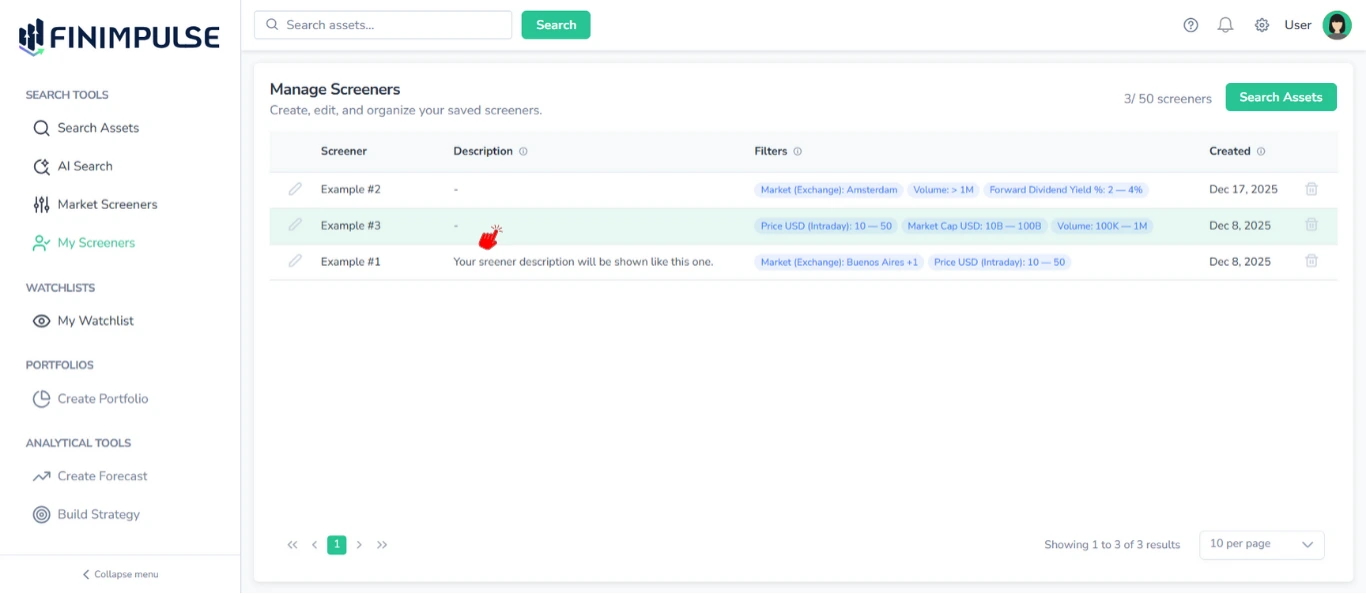
2.1. View Your Saved Screeners
You can view all your saved screeners on the My Screeners page. They are displayed as a table.
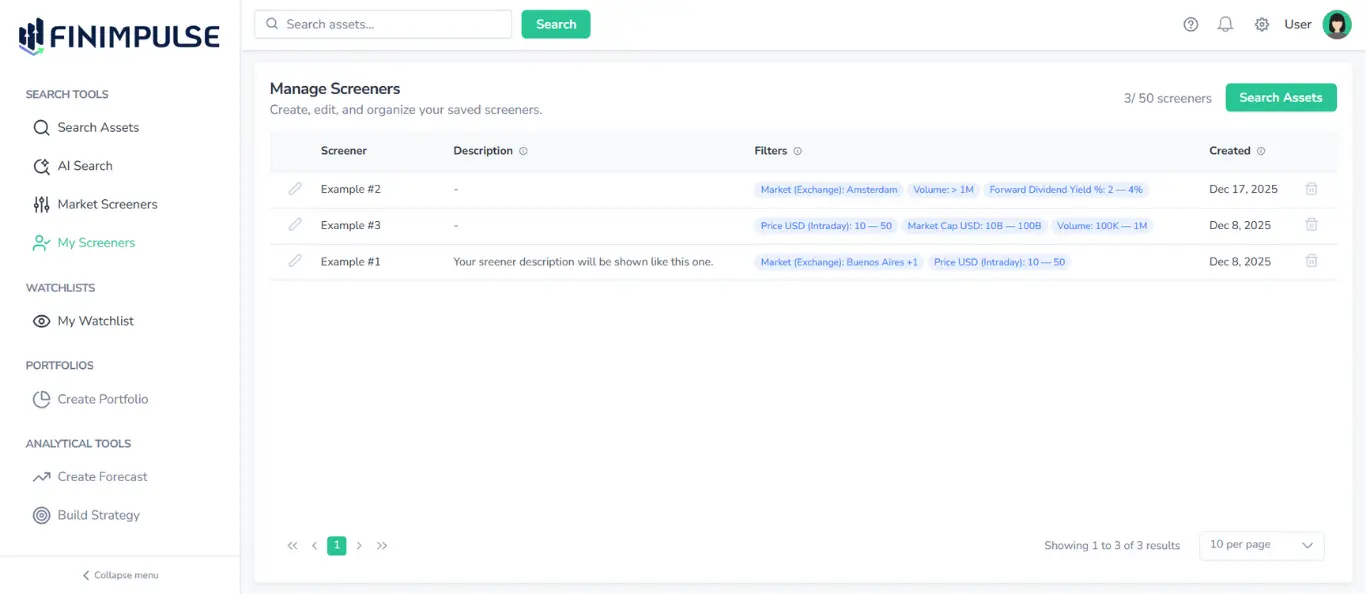
Each row shows:
- Screener (name)
- Description (if any)
- Filters used (shown as tags)
- Date created
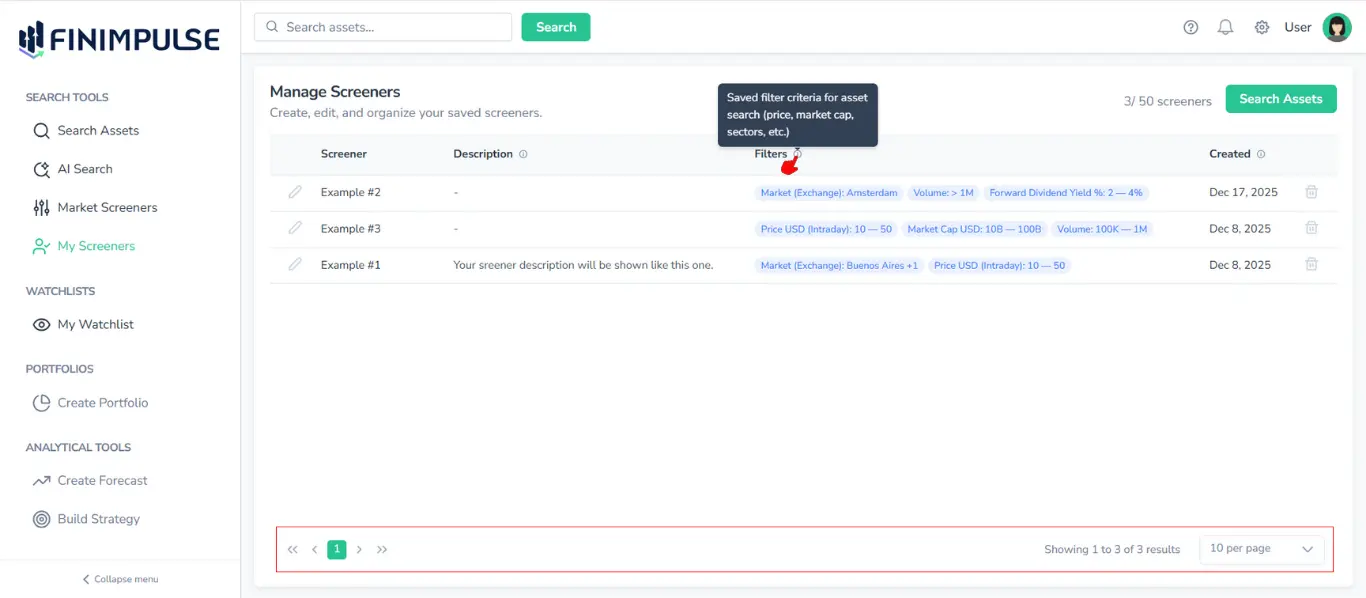
2.1.1. Tooltips & Pagination
You can hover over the information icon (”i” in a circle) next to a table column name to see a description of what that column contains. Additionally, pagination controls are available at the bottom of the page.
2.2. Edit Screener Info
Click the pencil icon next to a screener’s Name.

The “Edit Screener” pop-up appears (using the same logic as the Save your screener pop-up). You can modify:
- Name
- Description
Important: Editing does not change the filters themselves — only the metadata.
2.3. Delete Screener
Click the trash icon (next to the date).
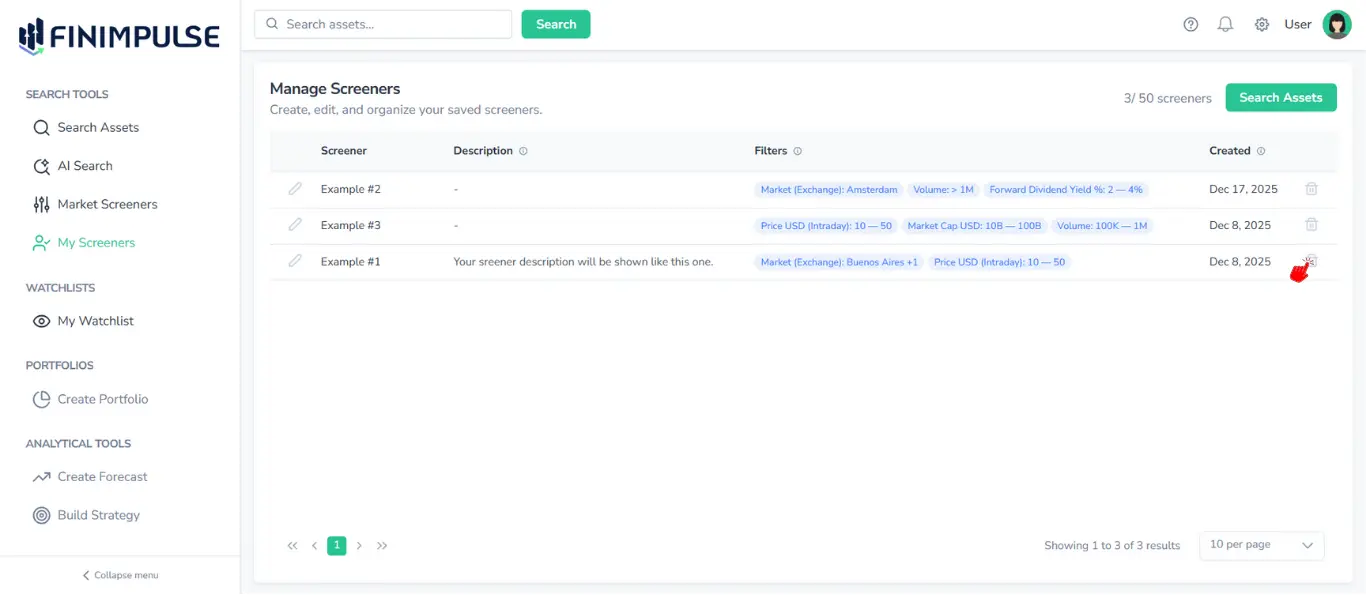
The dialog appears → Click Delete → The success notification appears.
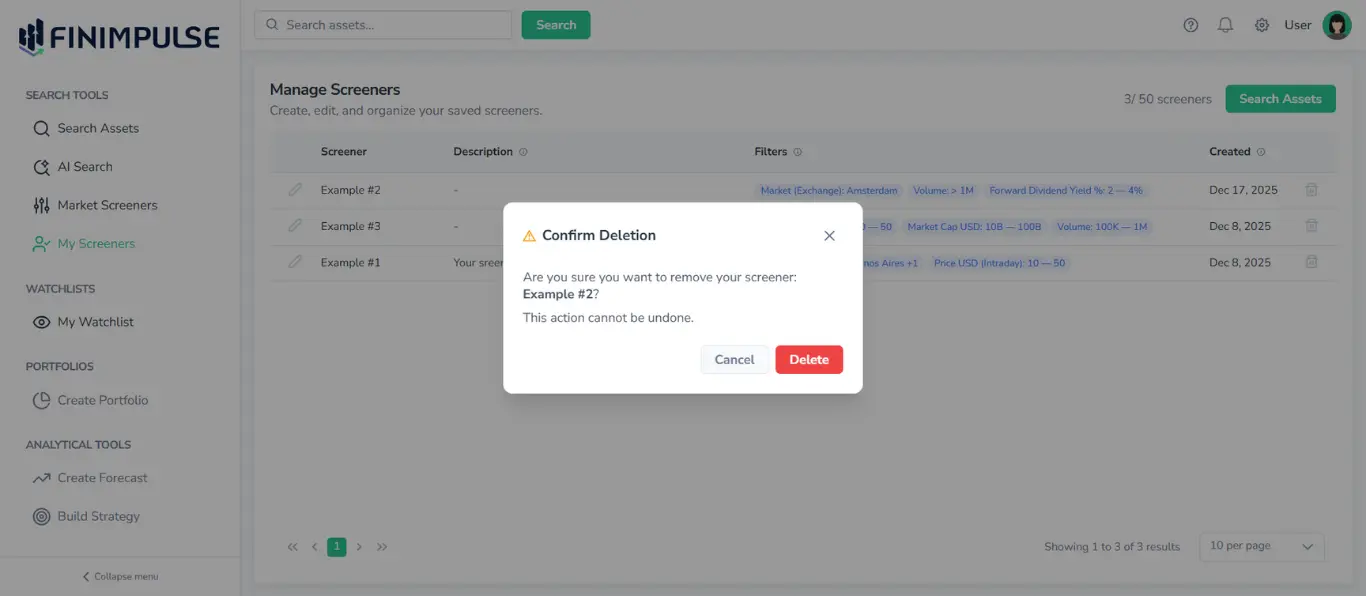
Important: This action cannot be undone.
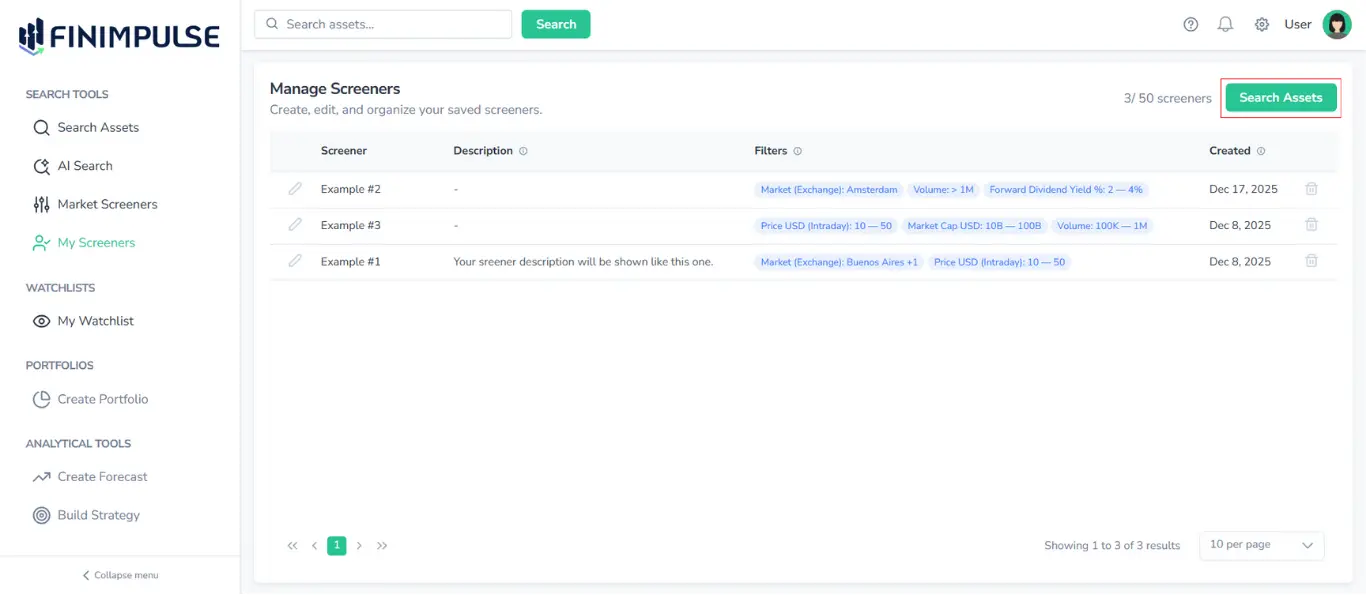
2.4. Redirect to the Search Assets page
In the top-right corner of the My Screeners page, you’ll find a Search Assets button. Clicking it will redirect you to the Search Assets page, where you can easily search for new assets, apply filters, and create new screeners.
2.5. Sort Screeners
The screeners’ table supports the same sorting features as the Search Results table on the Search page.
Note: Sorting is not available for the Filters column.
To learn how sorting works, see the Search Results Table Guide.
3. Important Behavior: Editing Filters Creates a New Screener
This is a key design feature of FinImpulse.
When you open an existing screener and change its filters:
- A new screener is created
- The original screener remains unchanged
This ensures that you never lose your original strategy, can experiment freely, and can fork multiple versions of the same screener.
Example:
- Open screener “Munich ETFs”
- Add new filter: Sector → Real Estate
- Click Save as Screener
- Enter Name and Description
- A new screener is created, e.g., “Vietnam ETFs (Real Estate)”
- The original stays intact
4. Screeners Counter
The counter (e.g., 3*/50 screeners*) is displayed at the top right of the My Screeners page.
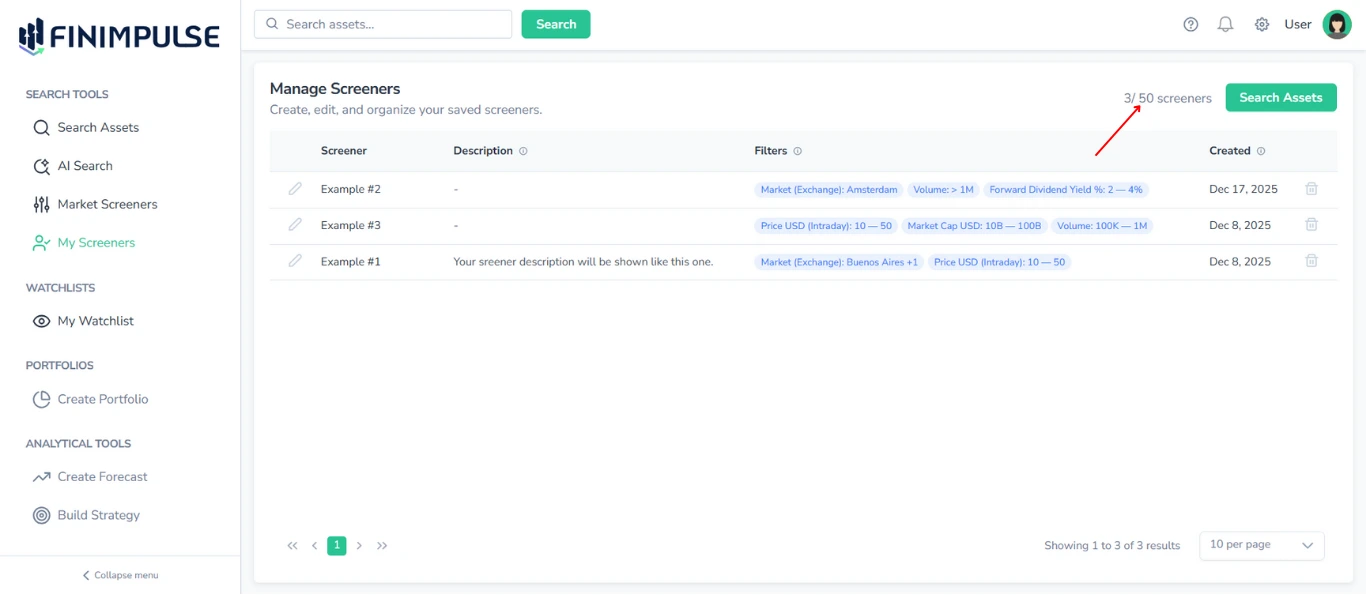
Note: The number of screeners you can create depends on your subscription plan. For detailed information about plan limits, refer to the Billing page.
5. Opening a Screener in Search Mode
When you click a saved screener:
- It redirects you to the Search Assets page, where all filters load automatically
- You can sort, export, or customize the results table
- Results consistently show live, up-to-date market data
From there, you can:
- See the Search results table
- Change sorting logic
- Export results
- Modify filters
- Save a new screener with updated filters
For detailed instructions on working with the results table, see the Asset Search & Results Guide.
6. Export
Just like results from regular search, the results from screeners can be exported to:
- CSV (.csv)
- JSON (.json)
- Excel (.xlsx)
For more detailed instructions, see the Export Manual.