
This section contains all account-related settings and works the same way in both User and API modes.
1. Switch Dashboard Mode
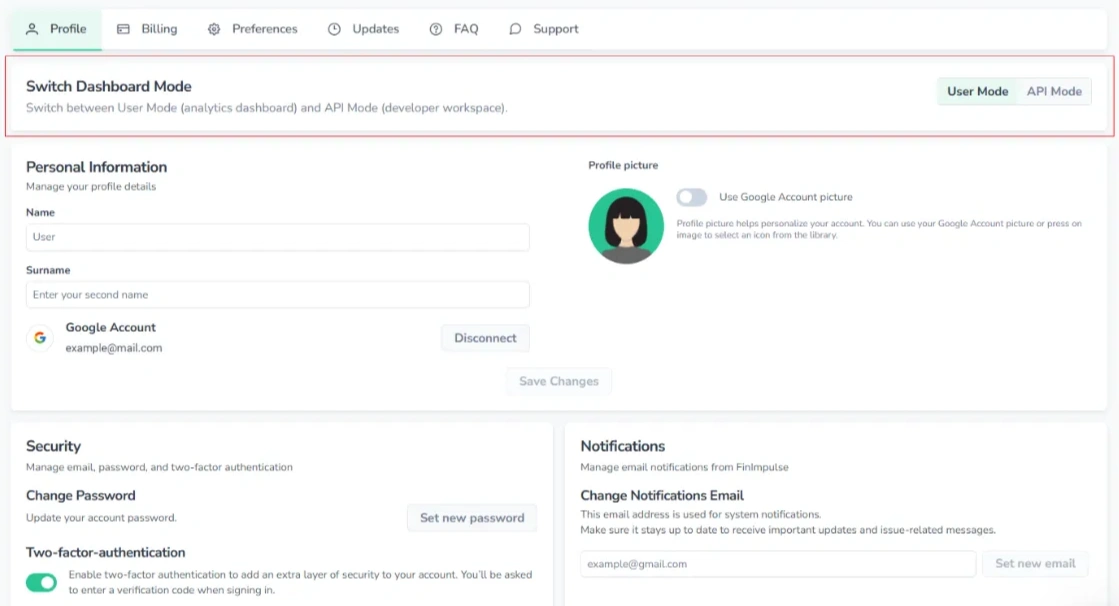
FinImpulse provides two dashboard modes:
- User Mode — analytics dashboard and investor tools.
- API Mode — developer workspace for API tokens and usage.
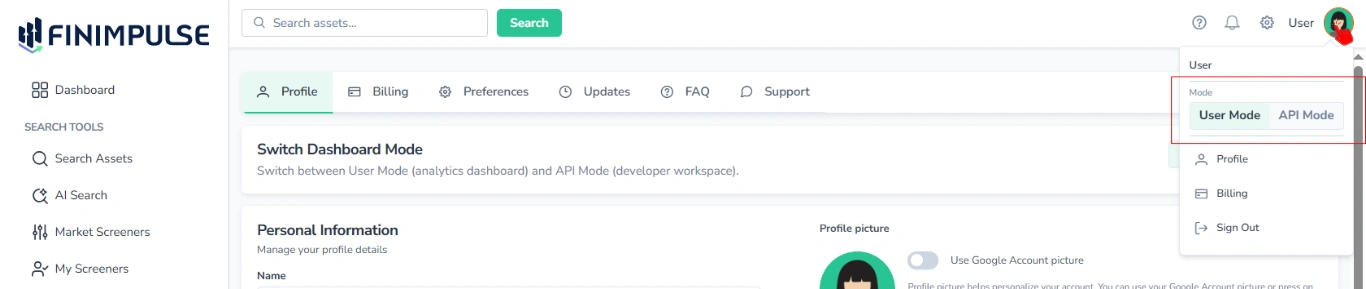
Both modes are part of the same account. Switch between modes from the user menu.
2. Personal Information

This section allows you to manage basic profile details:
- Display name
- Profile picture
- Authentication method
Changes take effect after saving.
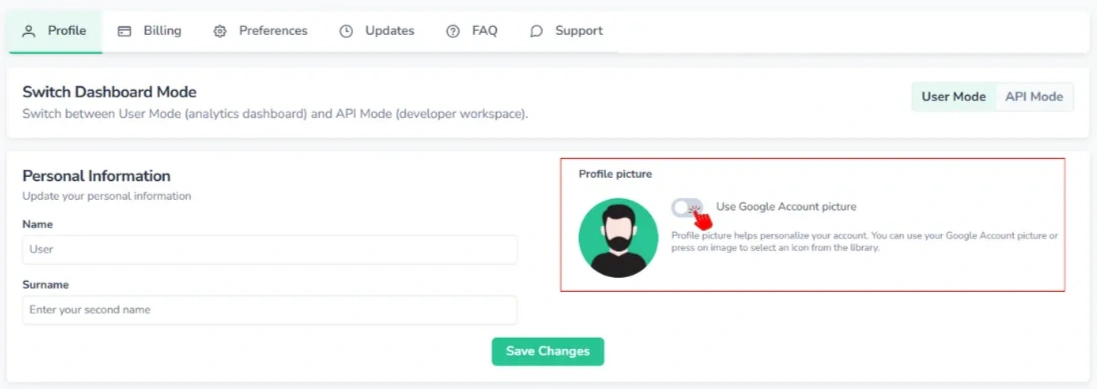
2.1. Profile Picture
You can choose how your profile picture is displayed.
Use Google Account Picture
If your account is connected to Google, enable or disable the Google profile image using the toggle, then save changes.
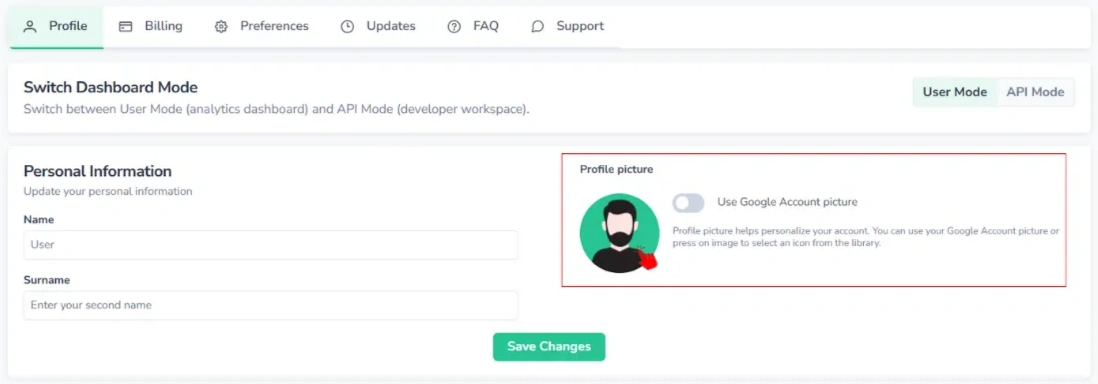
Choose an Avatar
Open your profile picture selector to view available avatars, select one, confirm the selection, and save the changes.
2.2. Authentication Method
If your account was created using Google Sign-In, the Google account can be disconnected from your profile.
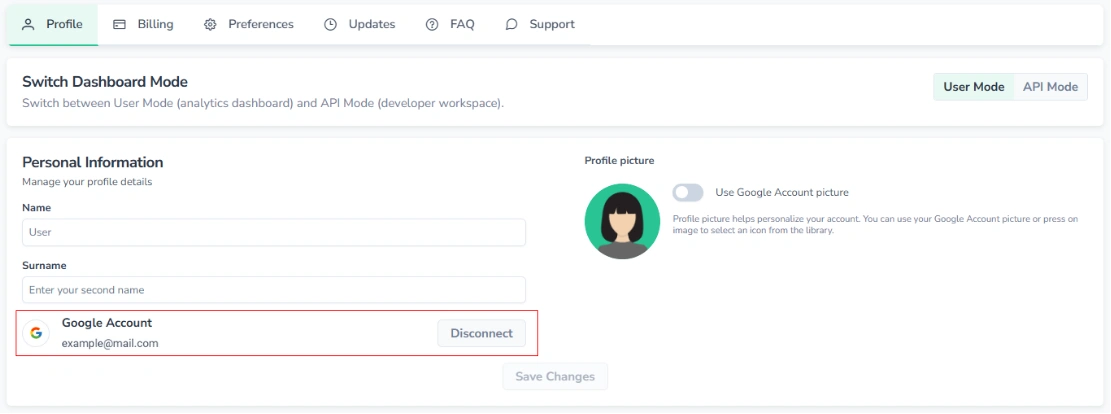
After disconnecting:
- Sign-in continues using the same email address
- Authentication switches to email and password
- If no password was previously set, one is sent to your email with setup instructions
Google Sign-In can be reconnected during sign-in if needed.
3. Security
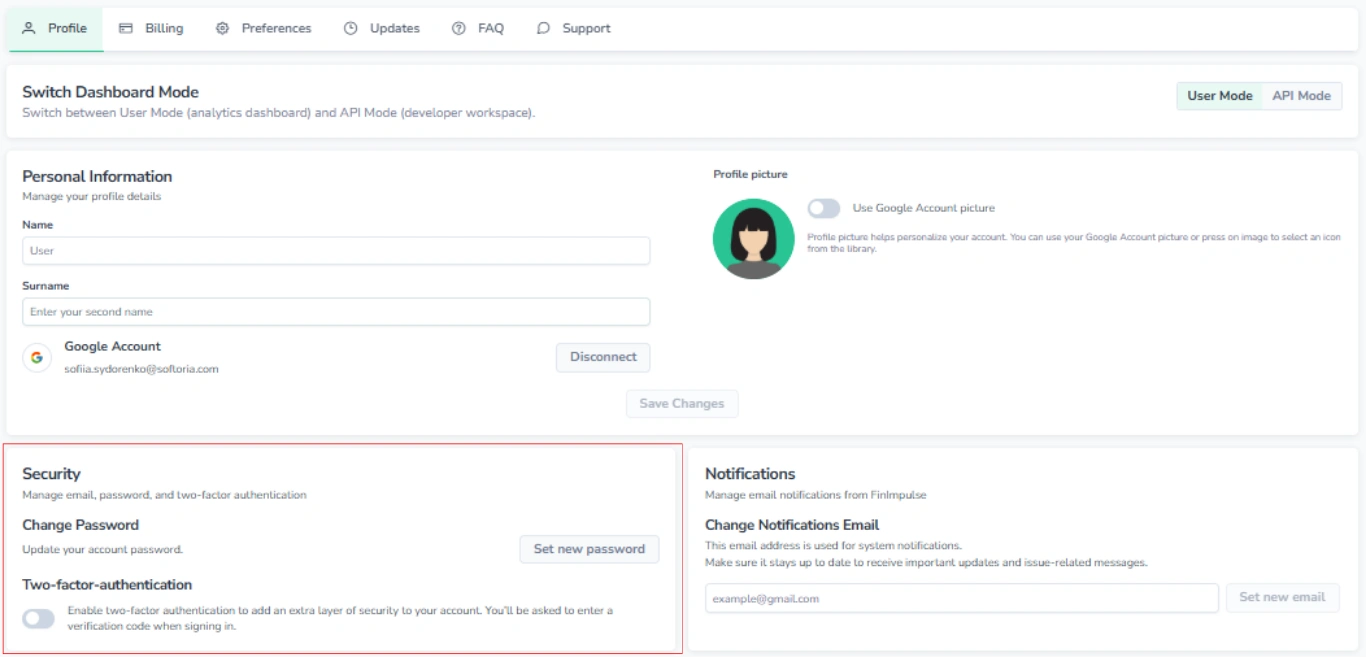
Manage your account security settings.
- Change your password
- Enable two-factor authentication (2FA
2FA adds an extra layer of protection, especially for API access.
3.1. Password
To update your password:
- Press the Set new password button → The password change dialog opens
- Enter the current password
- Set and confirm a new password (minimum 8 characters)
- Save the changes
If you originally signed up using Google, an initial password was generated automatically and sent to your email. You can replace it with your own at any time.
3.2. Two-Factor Authentication (2FA)
To enable two-factor authentication, turn on the 2FA toggle to open the setup dialog. Then follow the steps below:
- Open an authenticator app (Google Authenticator, Authy, etc.)
- Scan the QR code or enter the secret key
- Store the recovery codes securely — they are required if you lose access to your authenticator app
- Confirm setup by entering a 6-digit verification code
Once enabled, signing in requires both your password and a verification code.
4. Notifications
A separate email address can be used for notifications such as:
- Billing alerts
- System messages
- Token recovery
To update the notifications email, enter a valid address and apply the change.
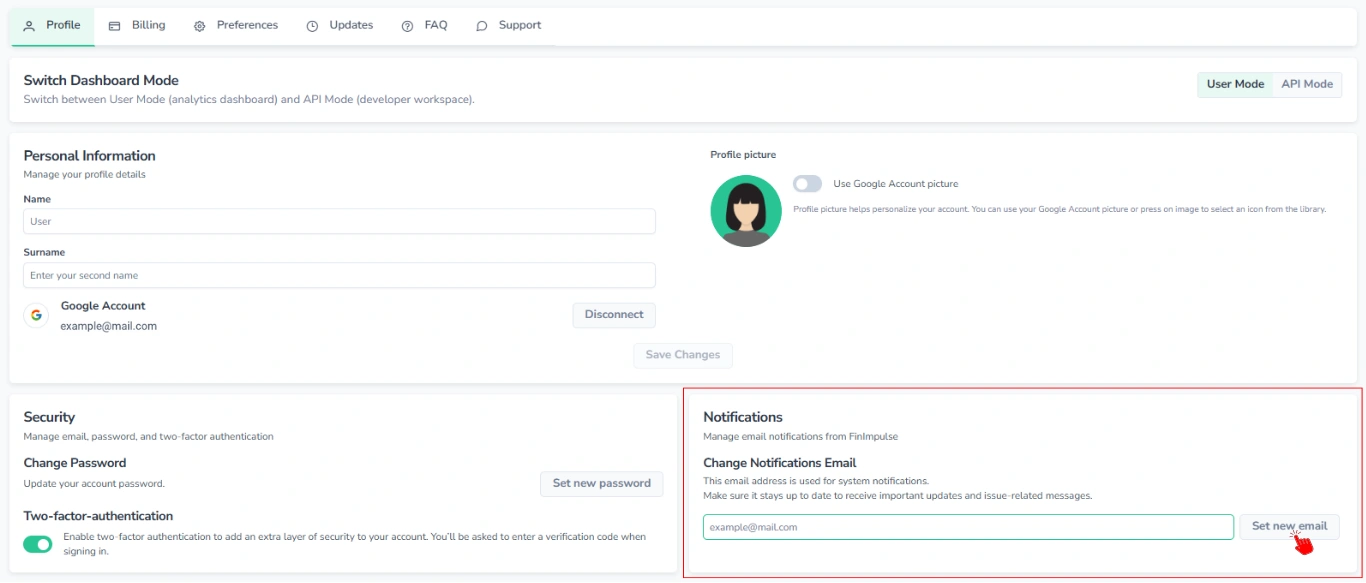
Note that the login email remains unchanged and is always the one used during initial signup.
5. Delete Account
Account deletion permanently removes the account and all associated data.
Account deletion is not recommended. If you no longer need the service, cancelling your subscription is usually the better option:
- Your data remains intact
- No charges apply
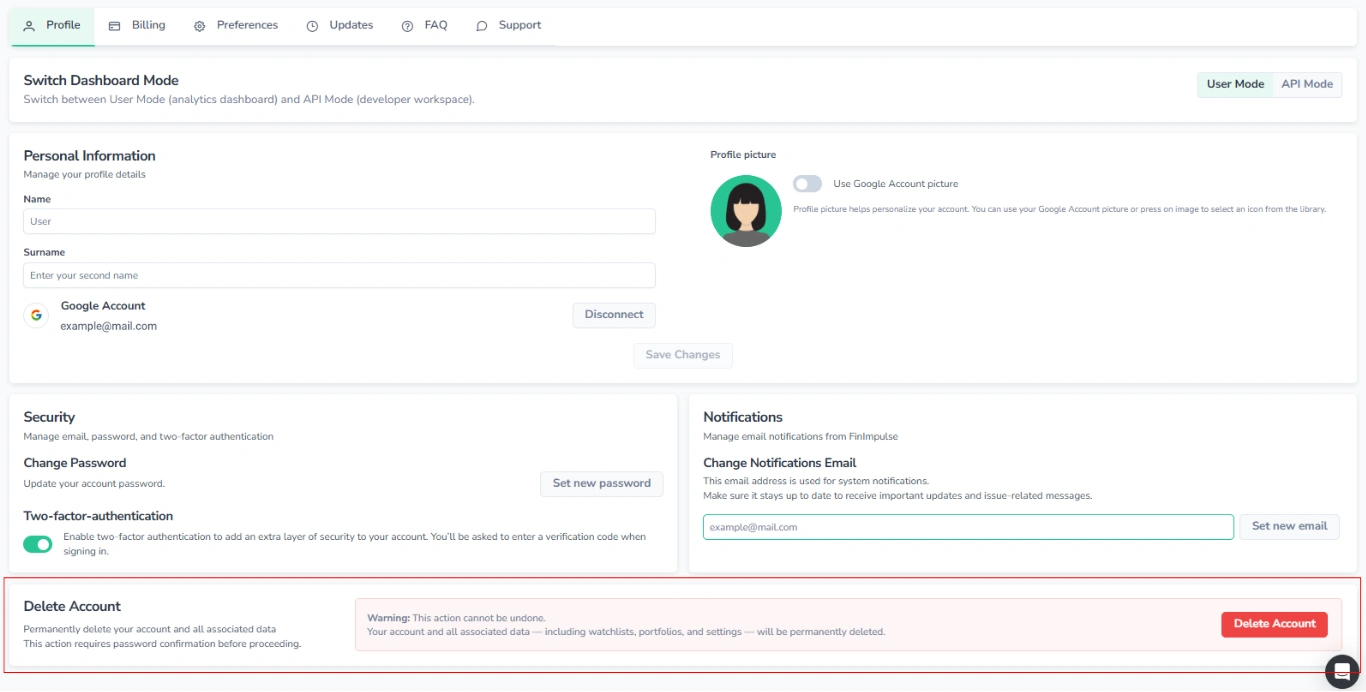
If you proceed:
- Press Delete Account → The account deletion dialog opens
- Confirm the deletion
- Enter your password or a 6-digit 2FA code
After deletion, all your data is permanently removed, and the same email address cannot be used to create a new account without contacting support.