The “Profile” section contains all account-related settings and is available in both user and API modes.
Here, it is possible to:
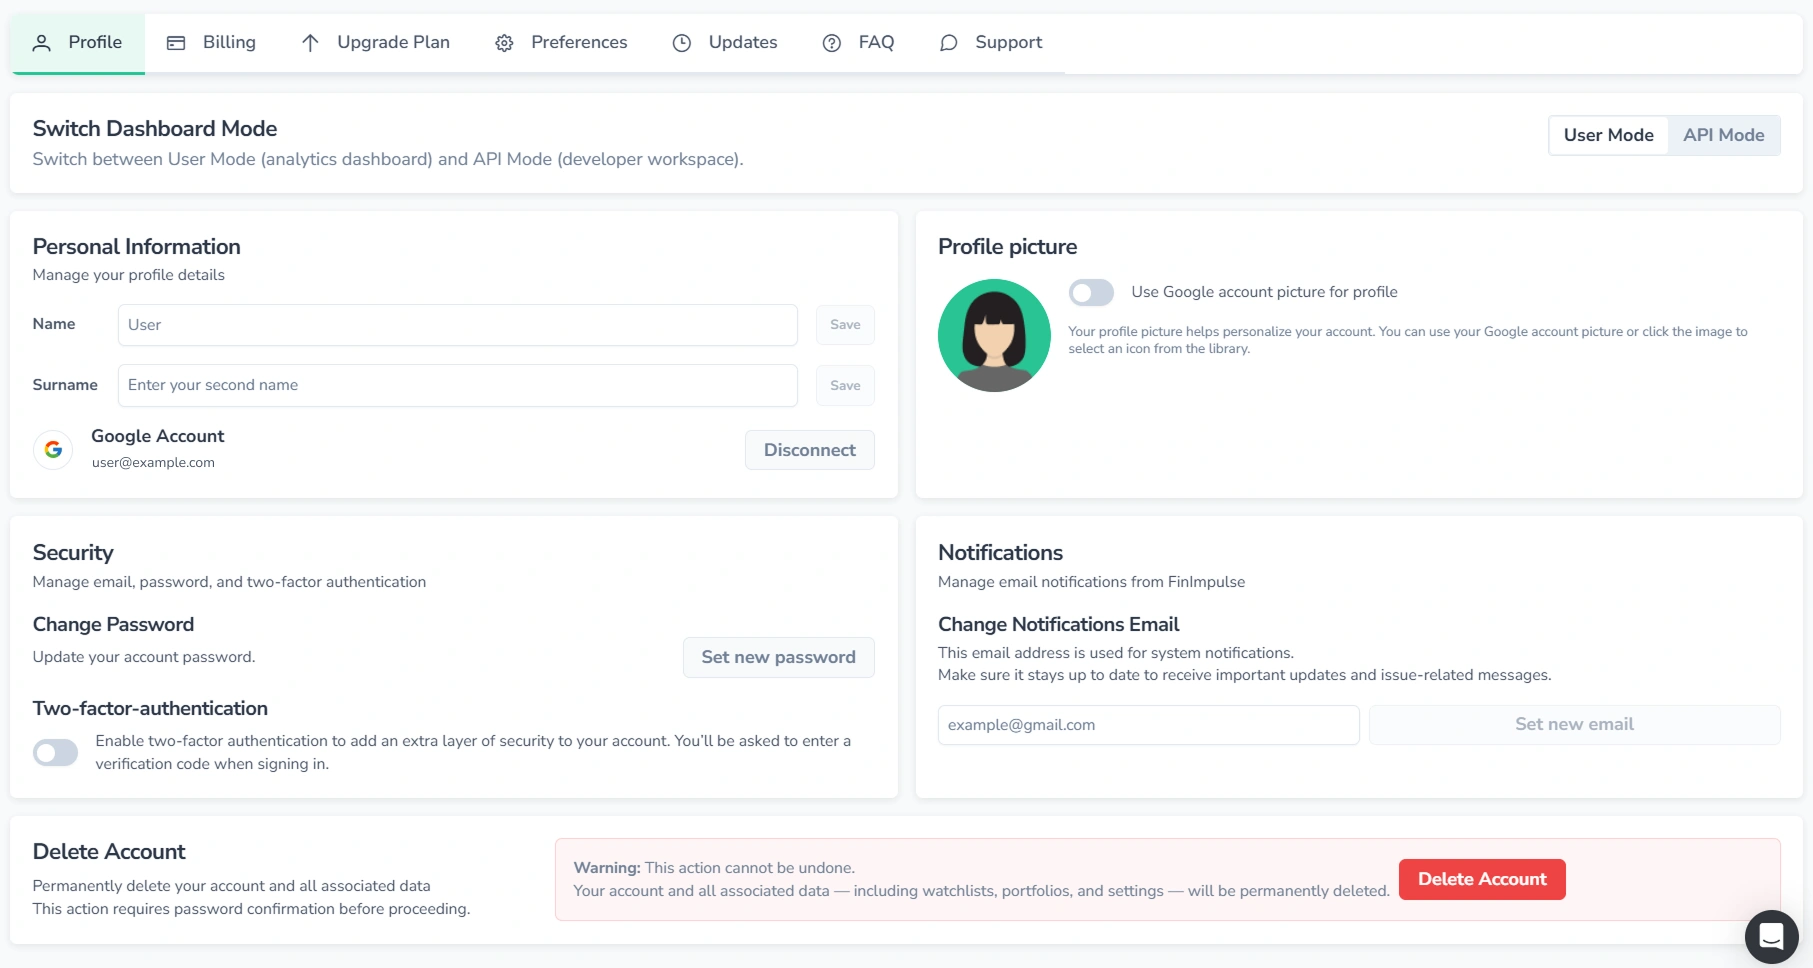
- Switch between user mode — analytics dashboard and investor tools, and API mode — developer workspace for API tokens and usage (both modes are part of the same account).
- Update personal information (display name, profile picture).
- Disconnect the Google account.
- Manage account security settings (change the password and enable two-factor authentication).
- Set a separate email address for billing alerts, system messages, token recovery, and other notifications (the login email remains unchanged).
- Delete the account.
The sections below cover profile picture setup and account deletion in more detail, as these actions require additional information.
Profile Picture
Two options are available for setting a profile picture:
- Use Google Account Picture: If the account is connected to Google, enable or disable the Google profile picture using the toggle, then save changes.
- Choose an Avatar: To choose an avatar, press the profile picture. The dialog with avatars will appear — select one and confirm the selection.
Account Deletion
Account data and all associated data are permanently removed upon deletion. The same email address cannot be used to create a new account without contacting support.
Account deletion is not recommended. If the service is no longer needed, cancelling the subscription is usually a better option:
- Your data remains intact
- No charges apply